RDP
Opening a RDP connection (GUI)
The XO-VAC+ embedded server can be remotely accessed and configured using the Remote Desktop GUI (RDP). This is not necessary for the everyday usage of an XO-VAC+. However, it can be useful when: - changing XO-VAC+ network settings - updating Windows - debugging / diagnosing performance issues
The following sections will show you how to set-up a RDP connection from various operating systems.
Windows
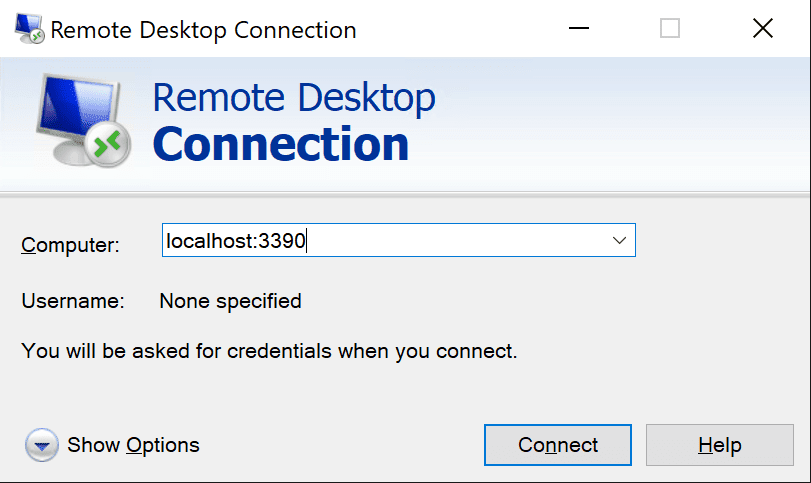
On your desktop, press Windows + R, enter mstsc and press Enter to open the Remote Desktop Connection manager. You can also find it by searching in the Windows start menu Remote Desktop Connection. Enter the IP address of XO-VAC+ and click on Connect.
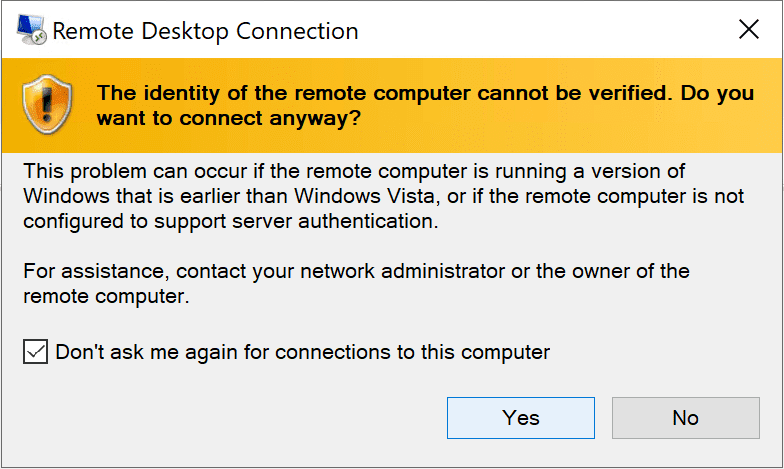
If it is the first time that you connect to the XO-VAC+ embedded server, you will see a warning message saying that the identity cannot be verified. Tick the check box for Don't ask me again for connections to this computer and click on Yes. If this message appears but you already connected to the XO-VAC+ embedded server in the past, check that you are using the correct IP address for XO-VAC+ status for more information. Please also contact us for more information.
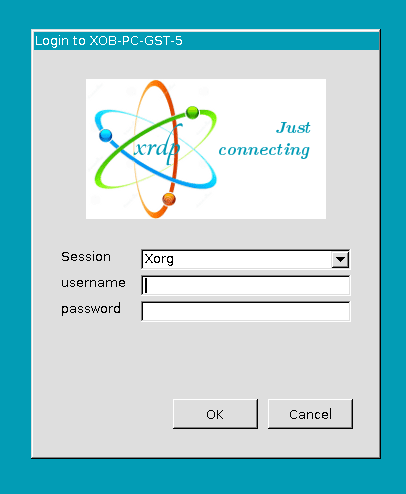
The RDP session will then open and you will be asked to enter your credentials. You need to use the XO-VAC+ embedded server credentials for this step.
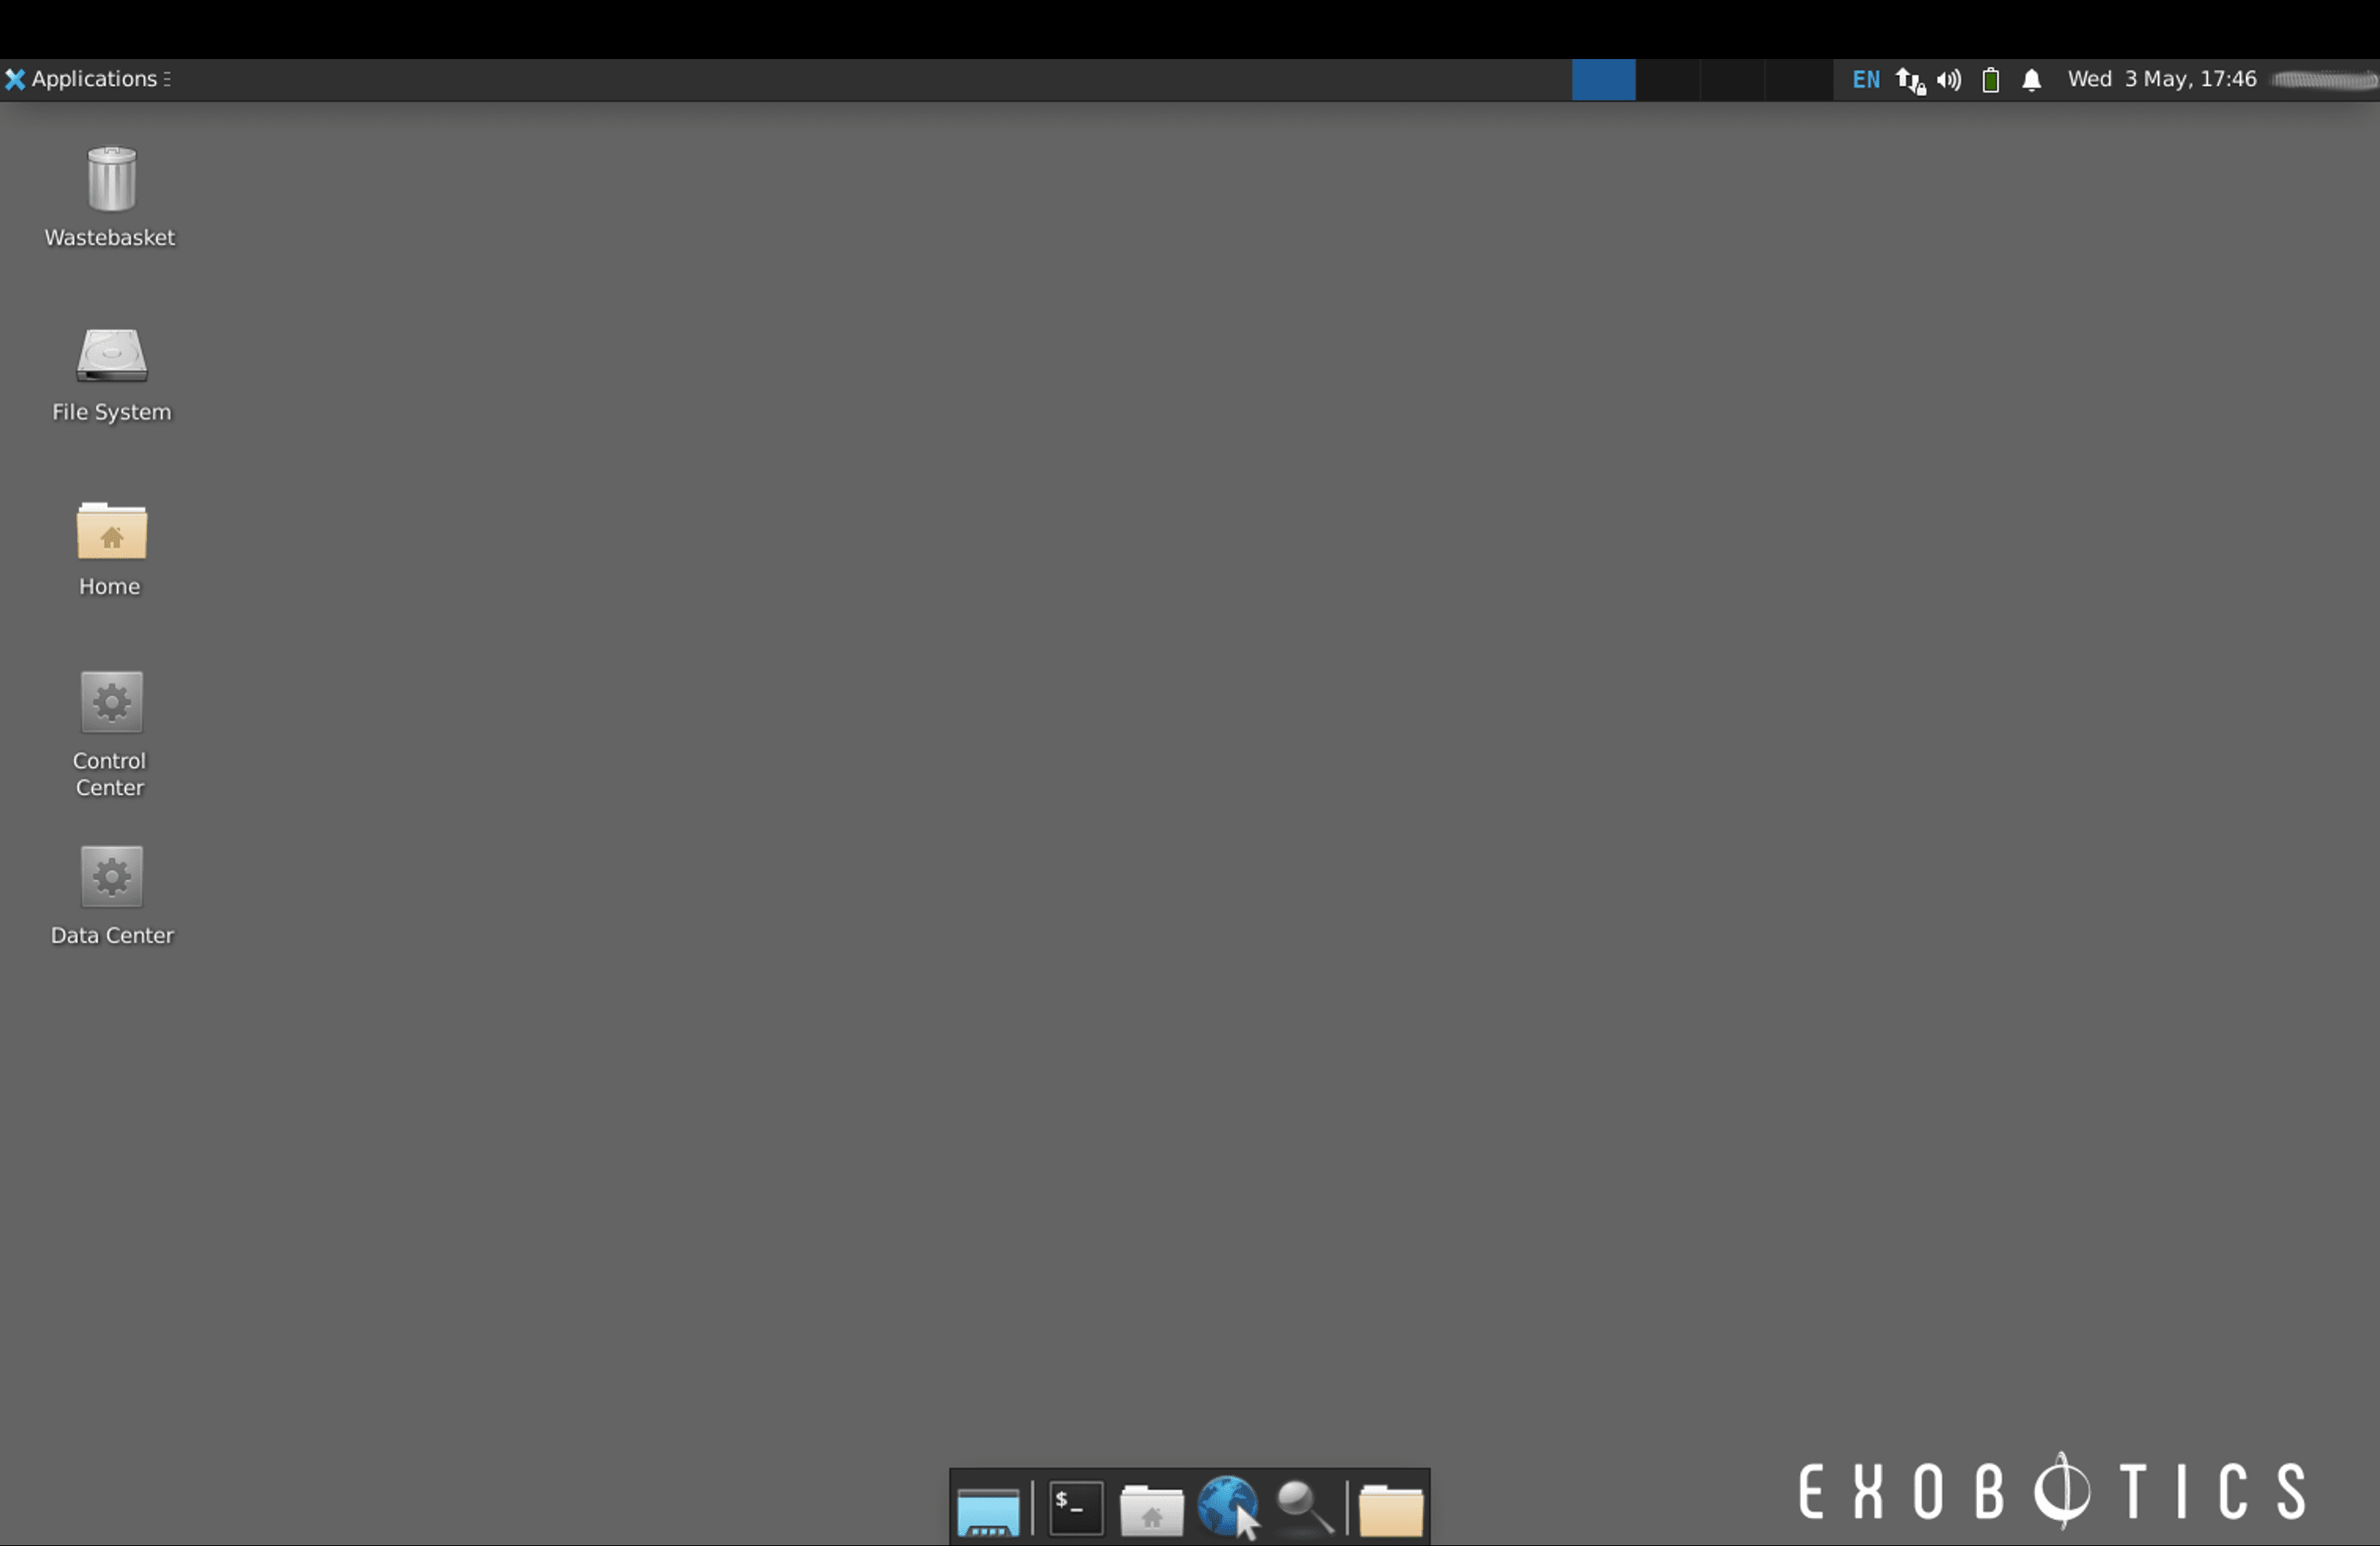
You should now have access to the XO-VAC+ embedded server remote desktop and see the following screen:
Mac OS
Download the latest version of Microsoft Remote Desktop. It is available on the Apple Store.
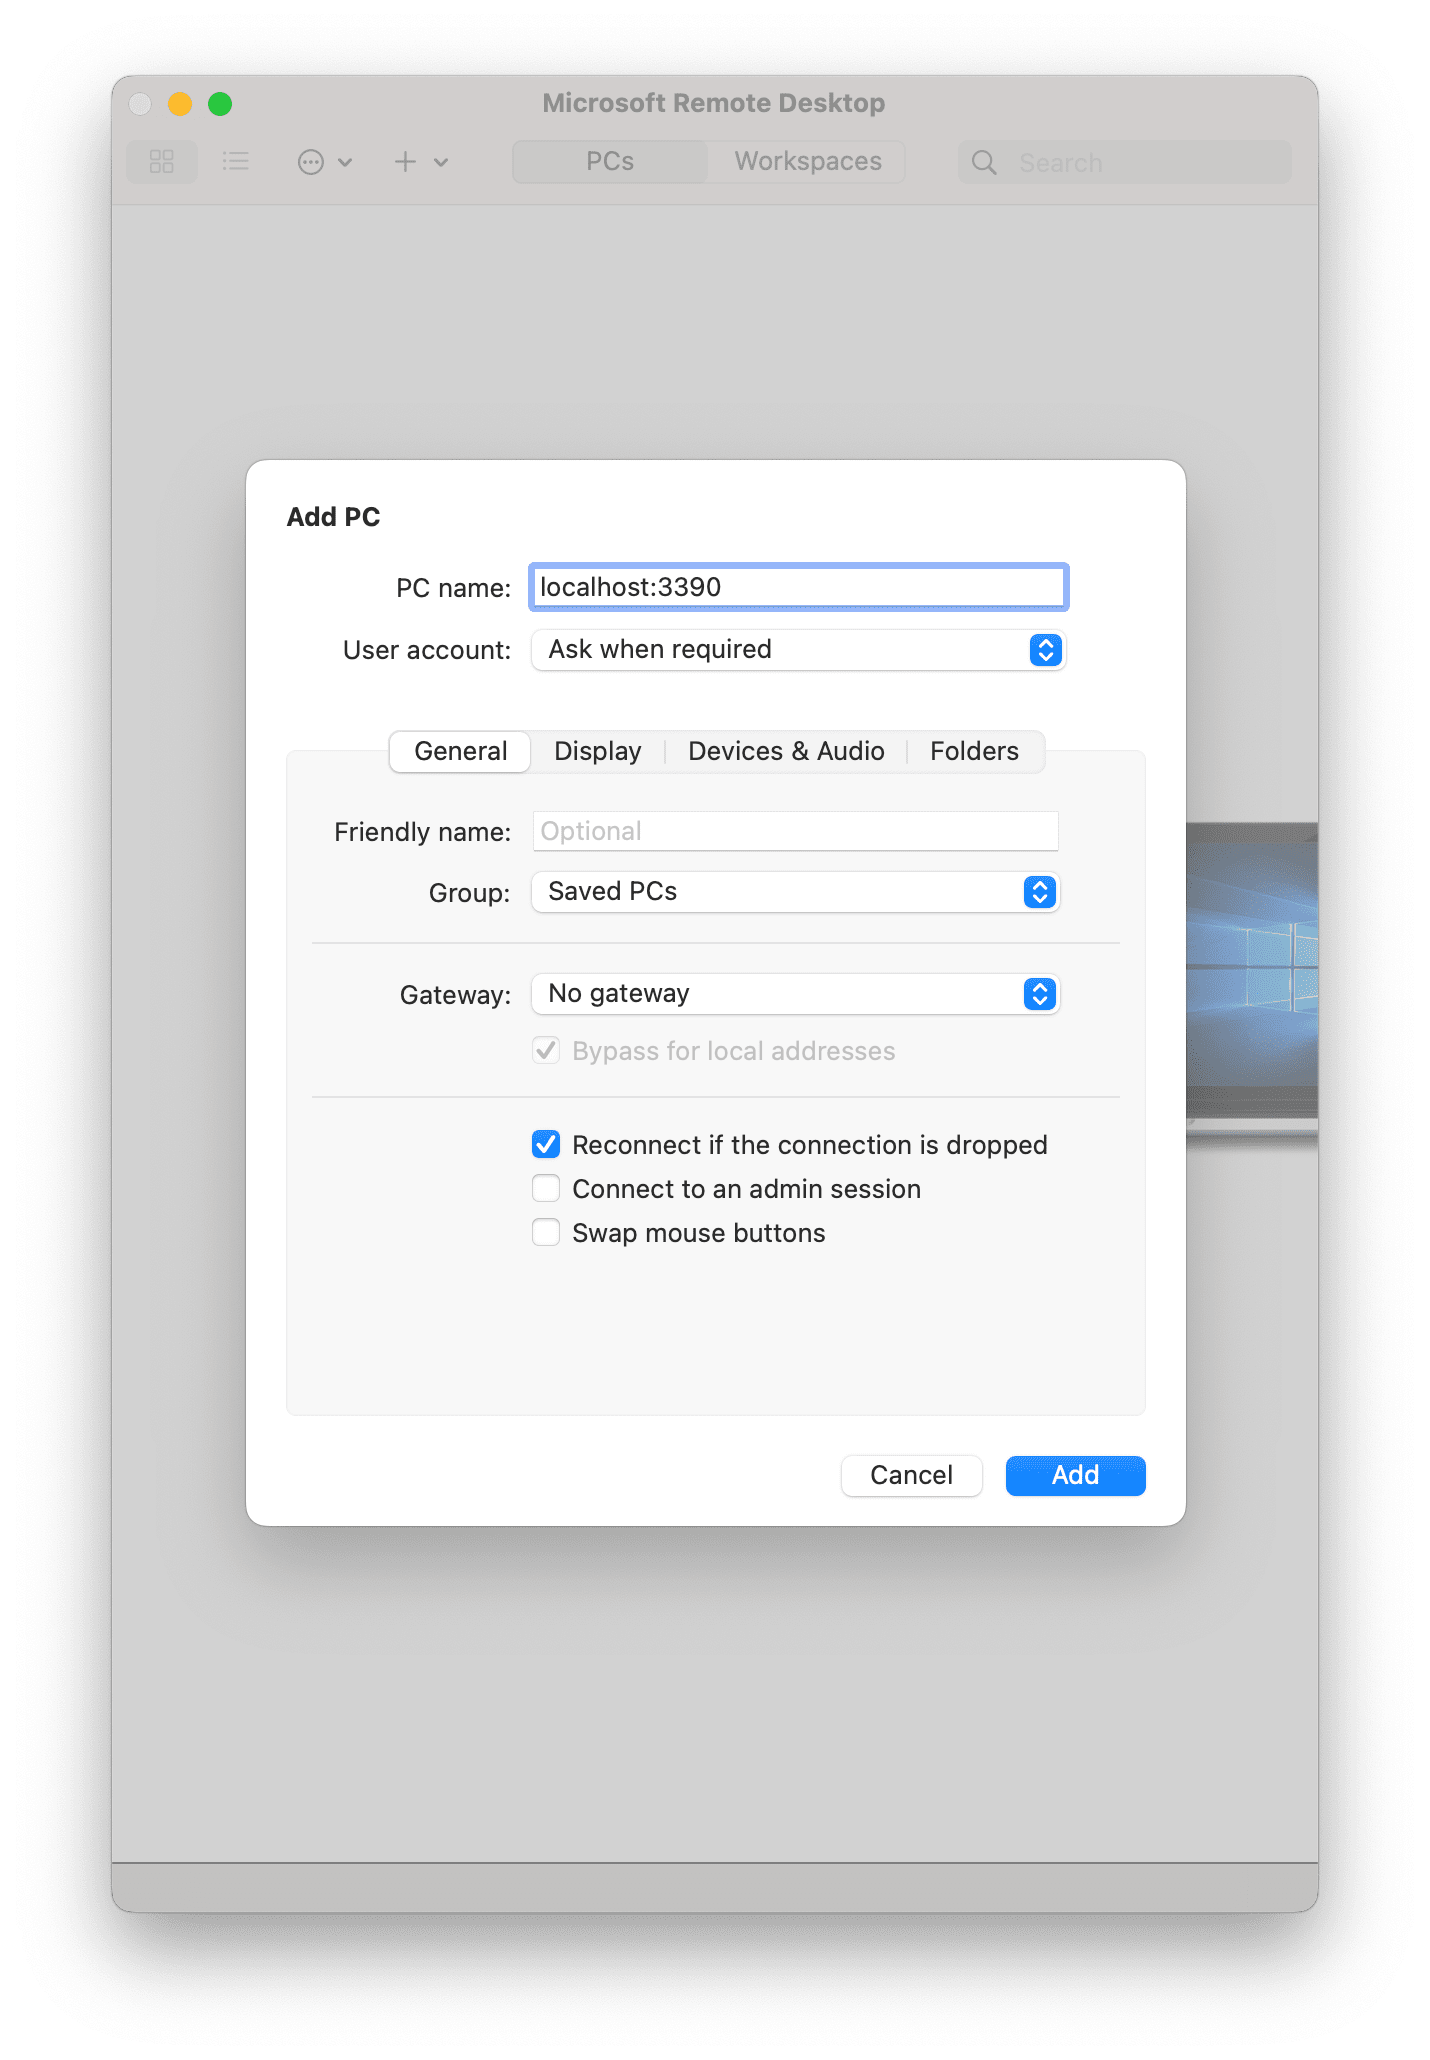
Once installed, open it. Click on the + sign at the top left of the window and click on Add PC. Enter localhost:3390 in the PC Name field and click on Add. Enter the XO-VAC+ embedded server credentials into the next window. If it is the first time you are connecting to the XXO-VAC+ embedded server using RDP, you will have to accept the server fingerprint.
Ubuntu
Open the app called Remmina, click on the button New Connection Profile located at the top left of the window. Enter localhost:3390 in the server field and the XO-VAC+ embedded server credentials in the username and password fields.
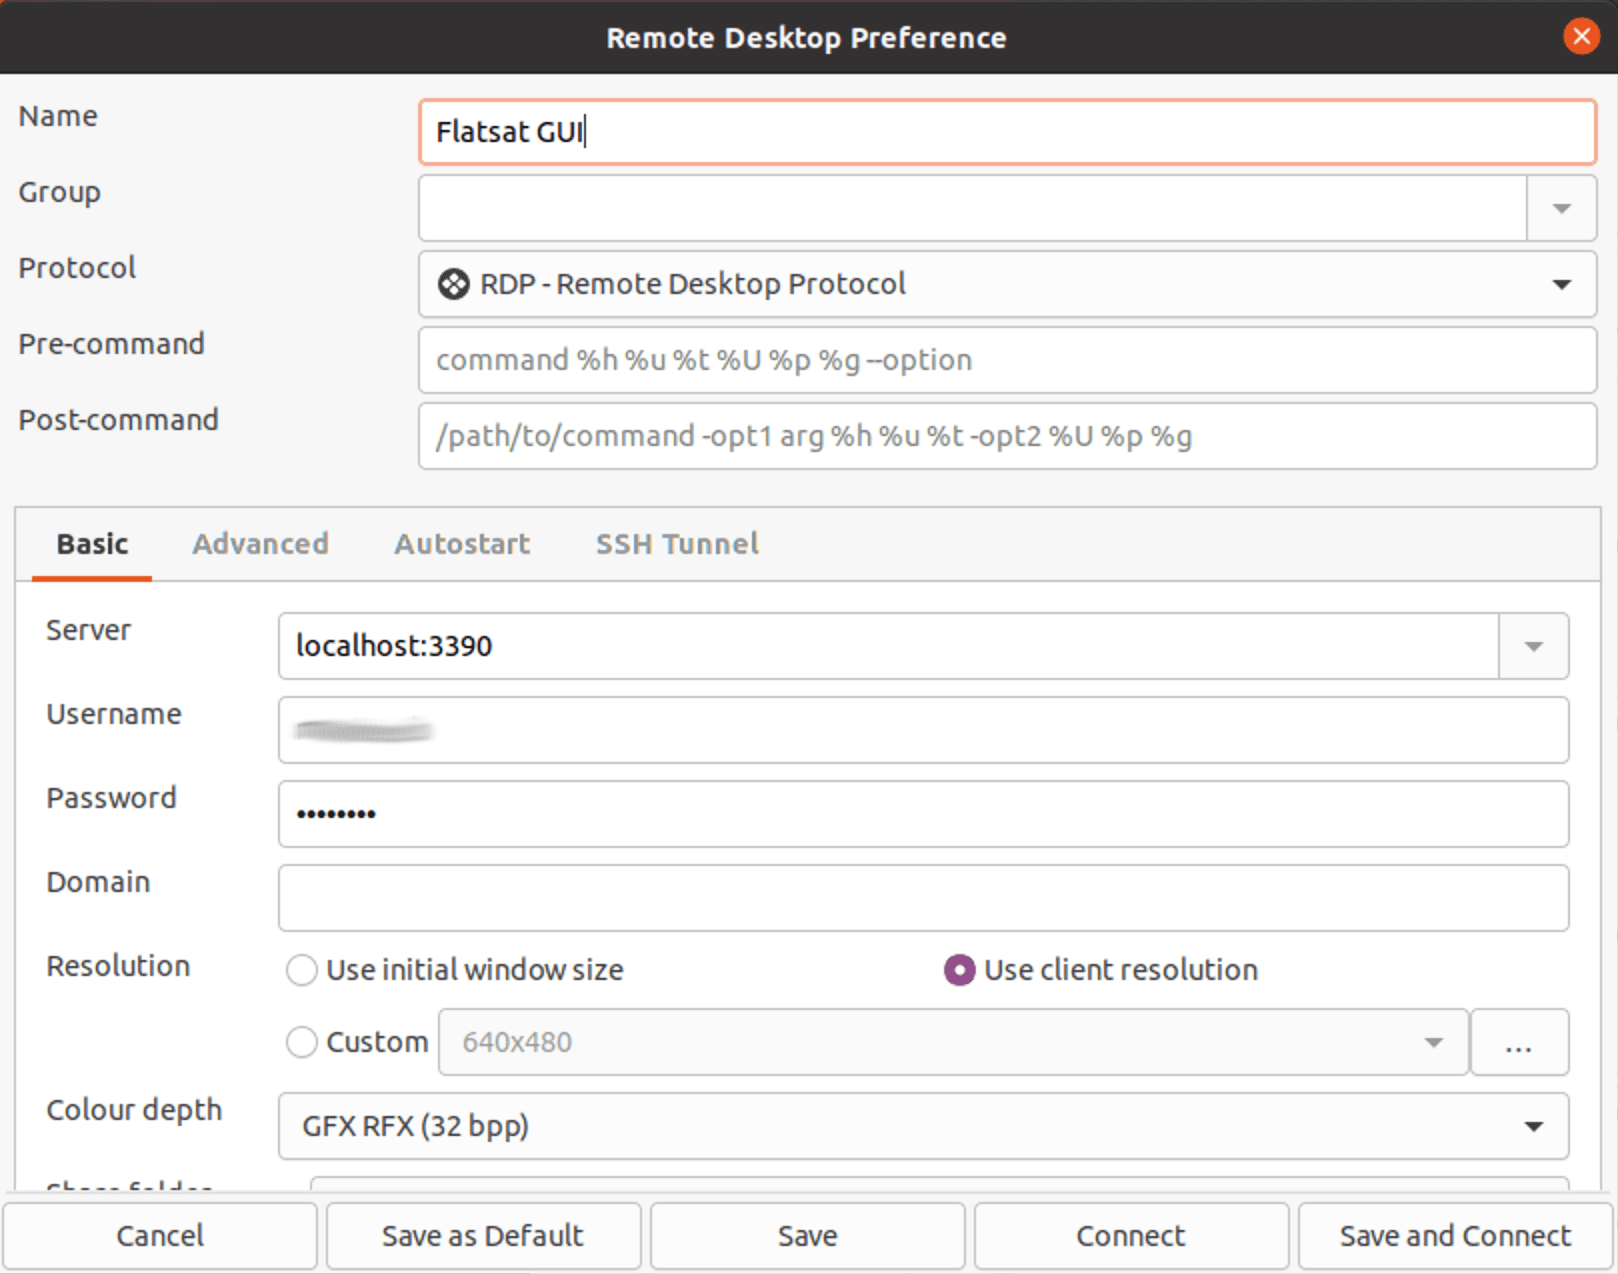
Click on Save and Connect. You should now see the XO-VAC+ embedded server desktop.